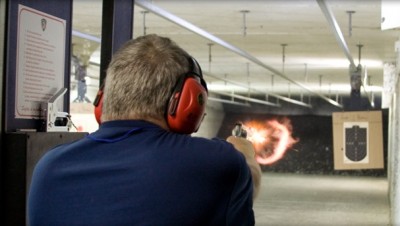
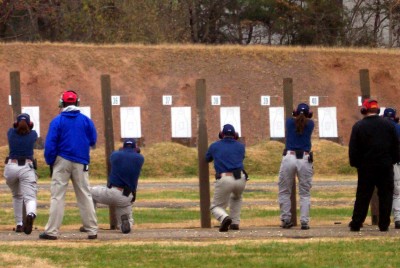
3 Defensive Handgun Drills That Will Keep You Alive
 Defensive handgun classes are popping up all over the place, and people are becoming more and more interested in training and self-defense. Handgun fighting has welcomed many changes in the last few decades, as techniques and tactics have expanded by both the police and military and have found their way into the civilian world.
Over the last few years I have issued various opinion pieces on a variety of firearms, types of firearms, drills, and different practice methods. In that time I’ve attended a quite a few training courses, and I’ve also become certified as an NRA pistol instructor and have begun hosting my own courses and class (NRA and non-NRA).
I quickly realized that I was an outsider looking in. I have been a gun guy for as long as I can remember, and I’ve served the majority of my adult life carrying a gun. That being said, I’ve had a security mindset drilled into me for a long time, as well as having access to real world access to some of the most experienced gunslingers in our nation. However, not everyone in the world has been fortunate to have the experience I have.
As I taught classes, I learned that things that are common sense to me are not common sense to everyone else. I also learned through educating myself through the civilian route that there is a lot of bad information out there. So I wanted to go over a variety of different drills people can practice both dry and with ammo (provided you have a non-square range available).
Safety!
Safety, safety, safety — I cannot stress safety enough. Before you do any of these drills live, practice dry to insure you know exactly what you are doing. Dry practice is not a waste of time; it will build the skills as long as you put the effort into it. Do not go lazy on your dry-fire practice. It’s infinitely cheaper than live fire and it’s still good training.
The safety aspect cannot be stressed enough. If you are not comfortable when it comes to a certain maneuver, just don’t do it. Seek further training and take more time to practice if necessary. Never do anything you are not comfortable doing.
Gun Up
Keep your gun up after every drill. What I mean by this: After you fire a successful string during a drill, make it a habit to keep your weapon trained on the target. Too often, I see people fire a drill successfully and drop their weapon into a low ready or close ready, or even holster their weapon. When you practice like this, you can expect to fight like this. You will drop your weapon after firing a perceived successful drill. Keep your gun up and stay ready to engage.
Here are three drills that can improve your defensive handgun skills – and keep you alive:
1. Get Back Drill
Here, I’ve chosen to counter a particular method of training I feel is dangerous and irresponsible. I’ve seen other instructors proclaiming that when shooting defensively, you should move toward the bad guy and shoot at the same time. This is foolish.
Approaching a bad guy during a defensive gun situation is a bad idea all around. Putting distance between you and the bad guy takes you out of his range and gives you a chance to get away. For the average everyday Joe, surviving a gunfight is winning a gunfight. Getting away is surviving. Rushing toward an enemy could also be misconstrued in a court room.
“This man made you fear for your life, so you decided to approach him as you shot him? And you were scared of him, huh?” says the prosecutor.
So instead, use the “get back drill”
The shooter starts with pistol holstered and concealed. Hands at the side. Range safety officer chooses when the drill starts.
My Personal Defender: Low Cost Way To Defend Yourself Against Lowlife Criminal Scum!
At the RSO’s command, the shooter draws the weapon and moves backwards. Engage the target with two shots in the center mass, head or pelvic girdle. Keep shooting until you make these two shots. Actually yelling “get back” will make it a habit and serve as a verbal warning if it ever comes up in an investigation.
2. Off the X
The X is where the fight starts. Remember: You do not get to pick when the fight starts or ends; the bad guy does. So when he starts that fight, move. Change it up and make him think, and most importantly, get out of his sights. Sometimes you can’t move backwards, so you need to move in a variety of directions, which could be to get away or get to cover.

This one is often difficult to practice live, but the main point isn’t to score shots with this drill. Dry works for 99 percent of the drill. That 1 percent of marksmanship practice can be achieved elsewhere.
The shooter starts with weapon concealed and holstered. RSO or signal goes off and drill begins. Shooter moves dynamically to the left, right, backwards or even forward. Forward movement is not to move toward the bad guy, but only to cover. Moving in a diagonal pattern is often the best method; you can get away and move out of the line of sight for the bad guy.
The point of this drill is to draw, get your gun on target, and move hard and fast out of the line of sight of the target. You can change this drill in multiple ways. Add obstacles and cover. Have someone place cover randomly without your prior knowledge and have your back turned to the engagement area. Again, 99 percent of this drill can be effectively learned without the use of live ammo. If ammo is used, be safe.
3. The Jam Drill
This drill is remarkably simple but does require a second person, or a little creativity. The point of this drill is to practice engaging targets and dealing with malfunctions. So have someone load your magazines for you and utilize a dummy round or snap cap randomly placed in the magazines.
If you don’t have a second person, I suggest placing a full magazine of ammo minus one round into a plastic container of some kind. Then toss a dummy round in. Now load one round at a time without looking at the ammunition and try to pay attention to something else.
Practice engaging targets with double taps; the more targets the better. Since you won’t know the placement of the dummy round, it will come as a surprise. This will allow you to practice clearing jams with live fire involved.
These are just three simple drills you can practice easily and safely to gain some experience. These drills can teach you a variety of different skills and survival techniques, and you can practice them with little instruction. For more advanced maneuvers I suggest a live fire training course on a dynamic range.
See: Ultimate Tactical Self-Defense And Hunting Weapon That Doesn’t Require A Firearms License!
http://www.offthegridnews.com/self-defense/3-defensive-handgun-drills-that-will-keep-you-alive/


No comments:
Post a Comment